How do I scan my physical documents with the GetMyInvoices mobile app?
The GetMyInvoices mobile app brings your document scanner with you anywhere you go. So when you really need to process that physical invoice right now, there’s no need to fumble around looking for a scan machine or worry about missing invoice due dates. Read the steps below to learn how you can start scanning your physical documents with GetMyInvoices.
Scan a single-page document
Step 1. Open the GetMyInvoices app on your mobile device. The app will immediately enable your device camera. If the camera is inactive, tap the camera icon on the lower right corner.
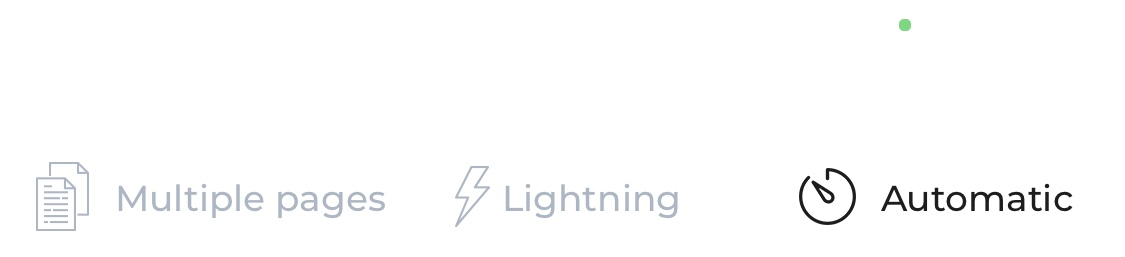
Step 2. The “Automatic” scanning mode is enabled by default. If you are trying to scan in a dark environment, tap “Lighting” on the top toolbar to illuminate the document being scanned.
Step 3. Place the physical document on a dark, flat surface. Align your mobile device so that all four corners of the document are visible on the app’s viewfinder, then tap the Shoot button (red circle icon).

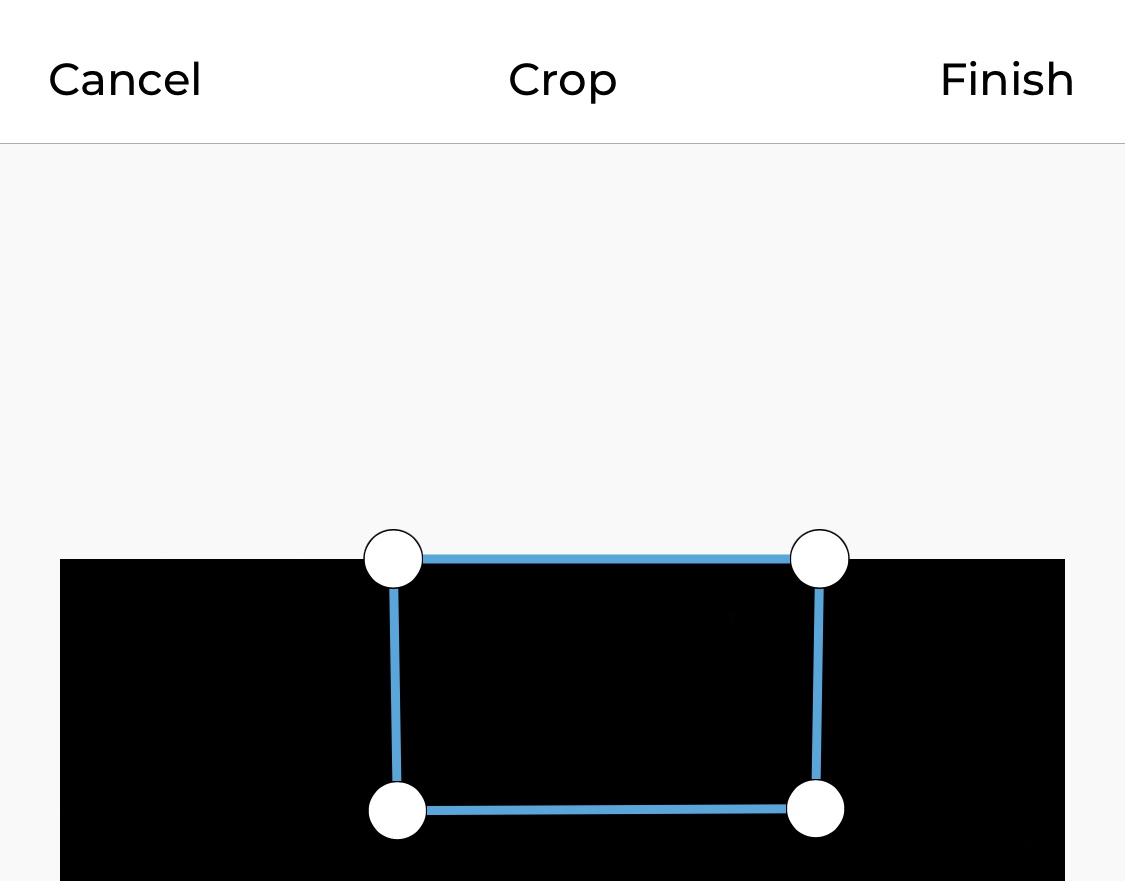
Step 3. Review the scanned document. If you want to crop the scanned document image, tap Crop. Otherwise, tap Finish to save your scanned document.

Step 4. To crop the scanned document, drag any of the four corner crop guides to any point in the scanned document image. Once done, tap Finish twice to complete the scanning process.
Scan a multiple-page document
Step 1. Open the GetMyInvoices app on your mobile device. The app will immediately enable your device camera. If the camera is inactive, tap the Camera icon on the lower right corner.
Step 2. The “Automatic” scanning mode is enabled by default. If you are trying to scan in a dark environment, tap “Lighting” on the top toolbar to illuminate the document being scanned.

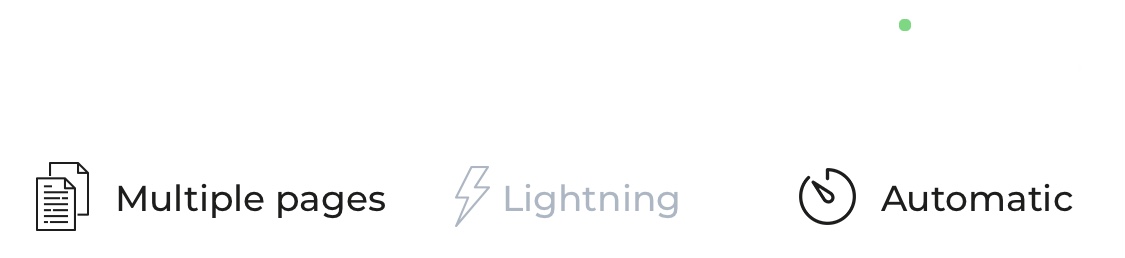
Step 3. Enable multi-page scanning by tapping Multiple Pages on the top toolbar (to the left of Lighting).
Step 4. Place the physical document on a dark, flat surface. Align your mobile device so that all four corners of the document are visible on the app’s viewfinder, then tap the Shoot button (red circle icon).
Step 5. Repeat Step 4 for each of the remaining document pages. You should see the total number of scanned pages on the lower right corner. Once done, tap this area.

Step 6. Review all scanned document pages by swiping left or right. If you want to crop any of the scanned document pages, swipe to the document page then tap Crop. Otherwise, tap Finish to save your scanned document.

Step 7. To crop the scanned document page, drag any of the four corner crop guides to any point in the scanned document image. Then tap Finish.
Step 8. Repeat Steps 6 and 7 for any other document pages you want to crop. Once done, tap Finish to complete the scanning process.
Once you’ve linked your GetMyInvoices account to the GetMyInvoices mobile app, your newly scanned documents will be automatically imported to your account if your mobile device is connected to Wi-Fi or a cellular network. If you’ve scanned documents and your device isn’t connected to the Internet, it will be saved locally on your device and will be automatically uploaded once you have Internet access.