How do I link my banking information to my GetMyInvoices account?
With four ways to add your banking information to GetMyInvoices, you’re only a few steps away from reconciling all your invoices right from your GetMyInvoices dashboard. Read below to start linking your bank details with your GetMyInvoices account.
Bank Account via Online Banking
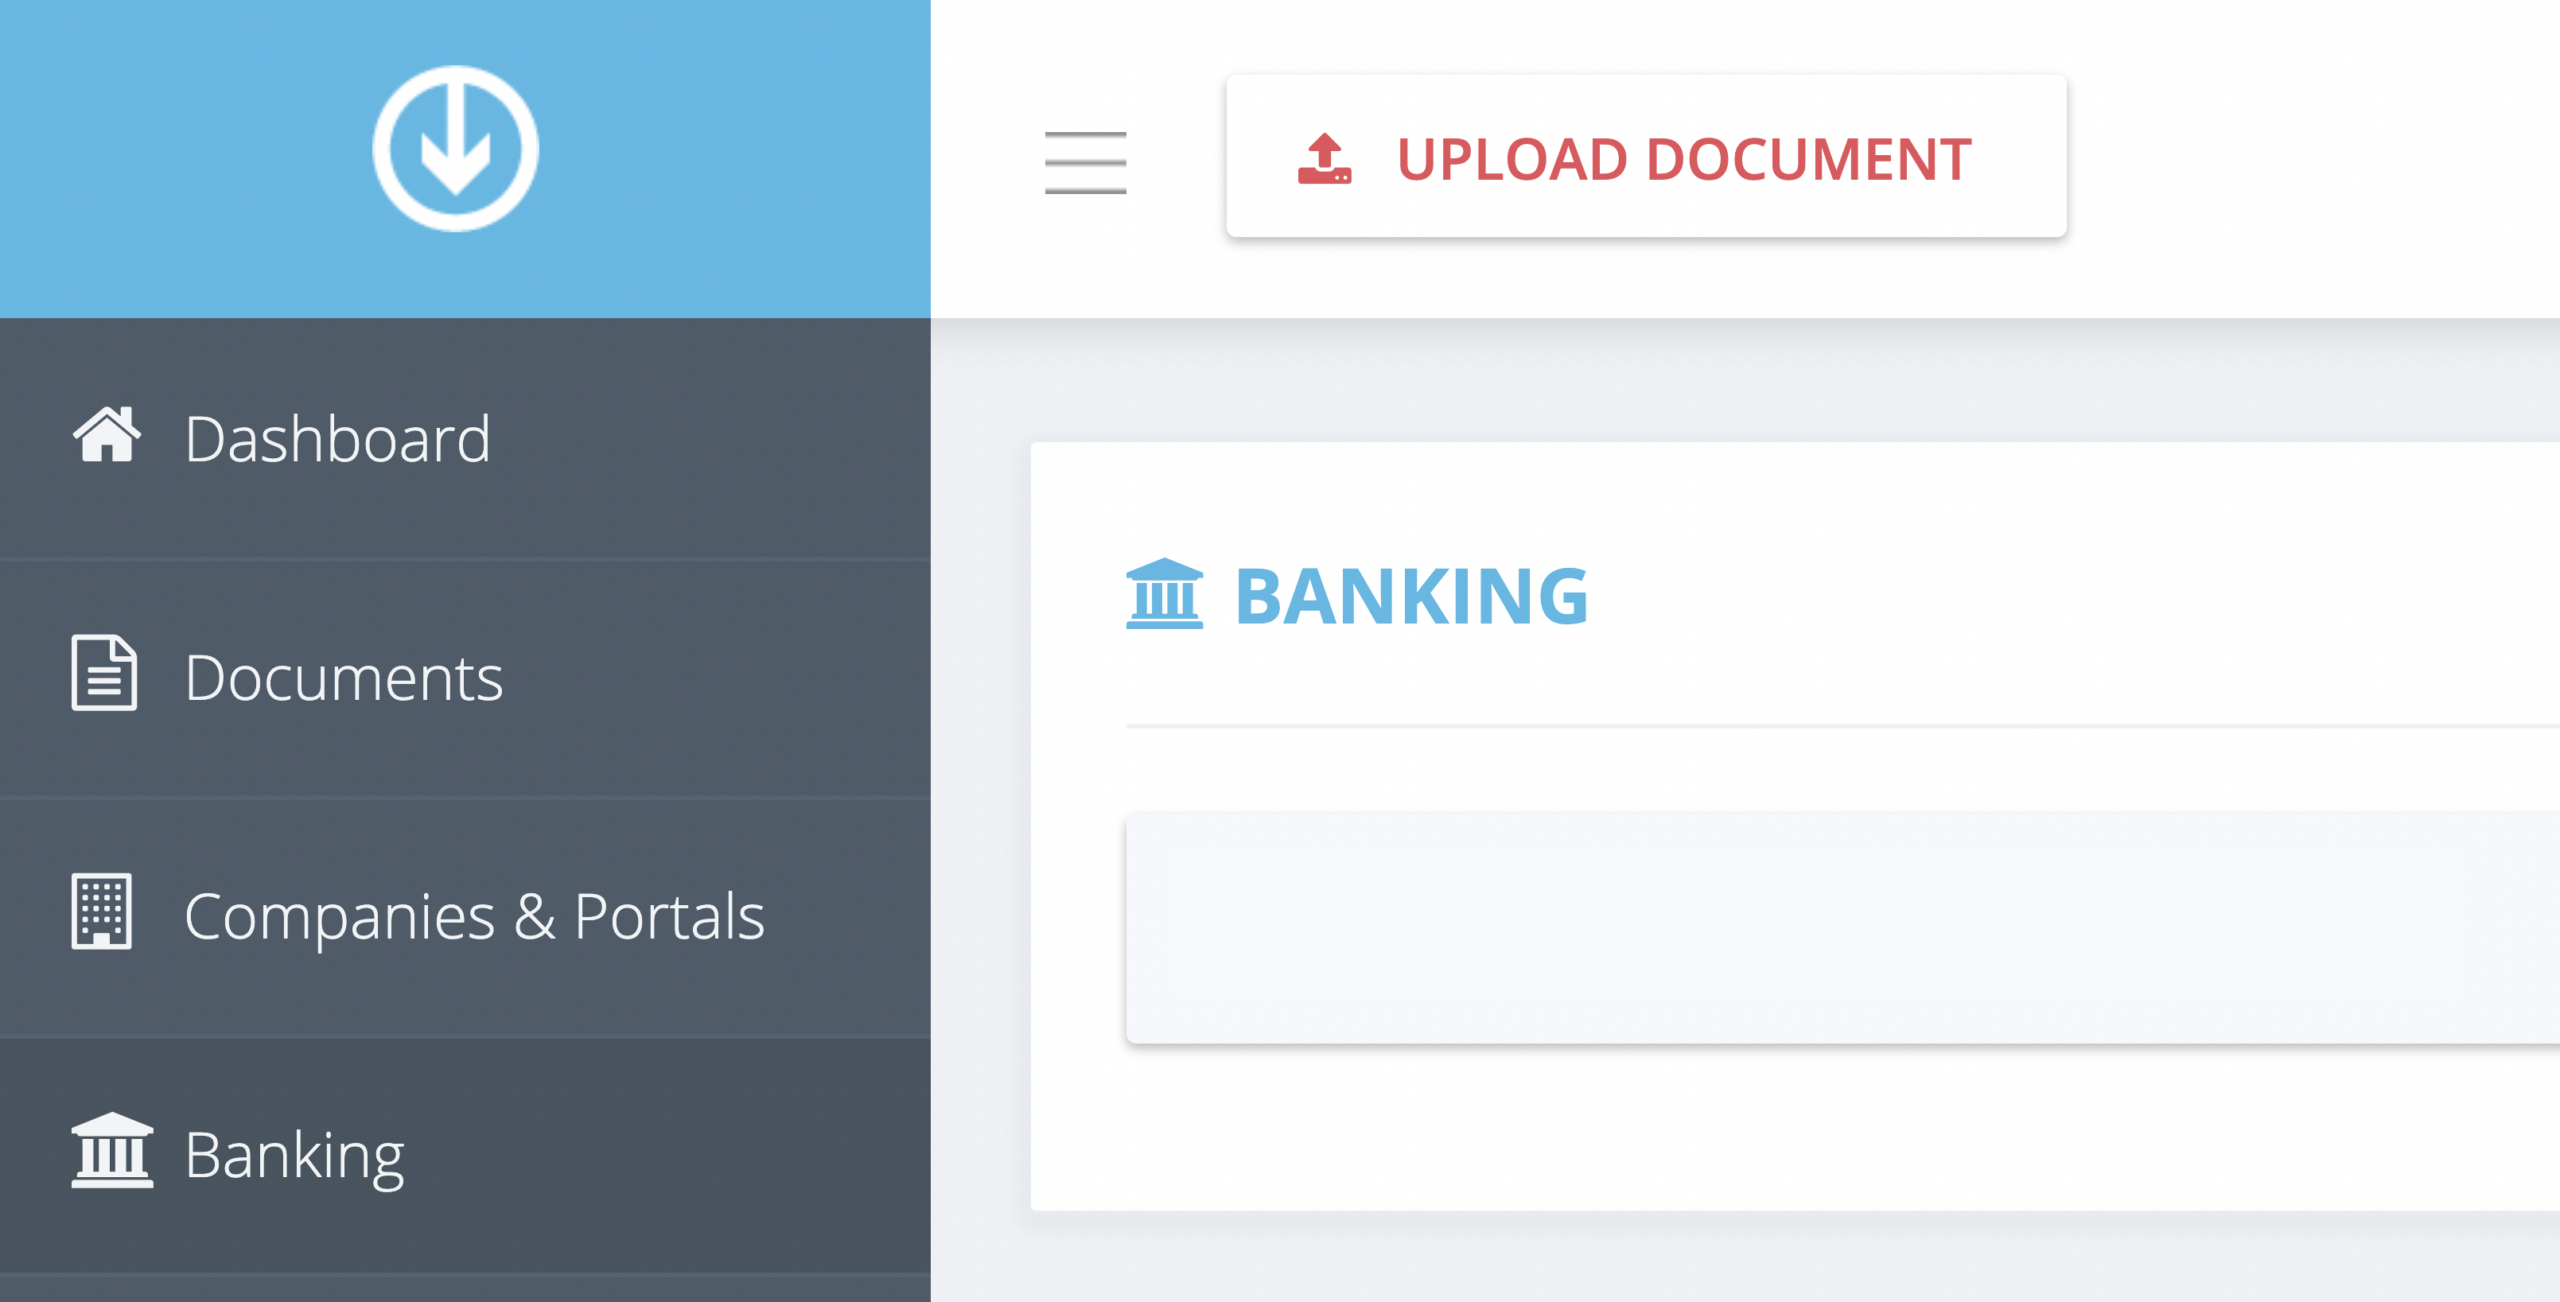
Step 1. From the GetMyInvoices dashboard, click Banking on the left-side menu.
Step 2:
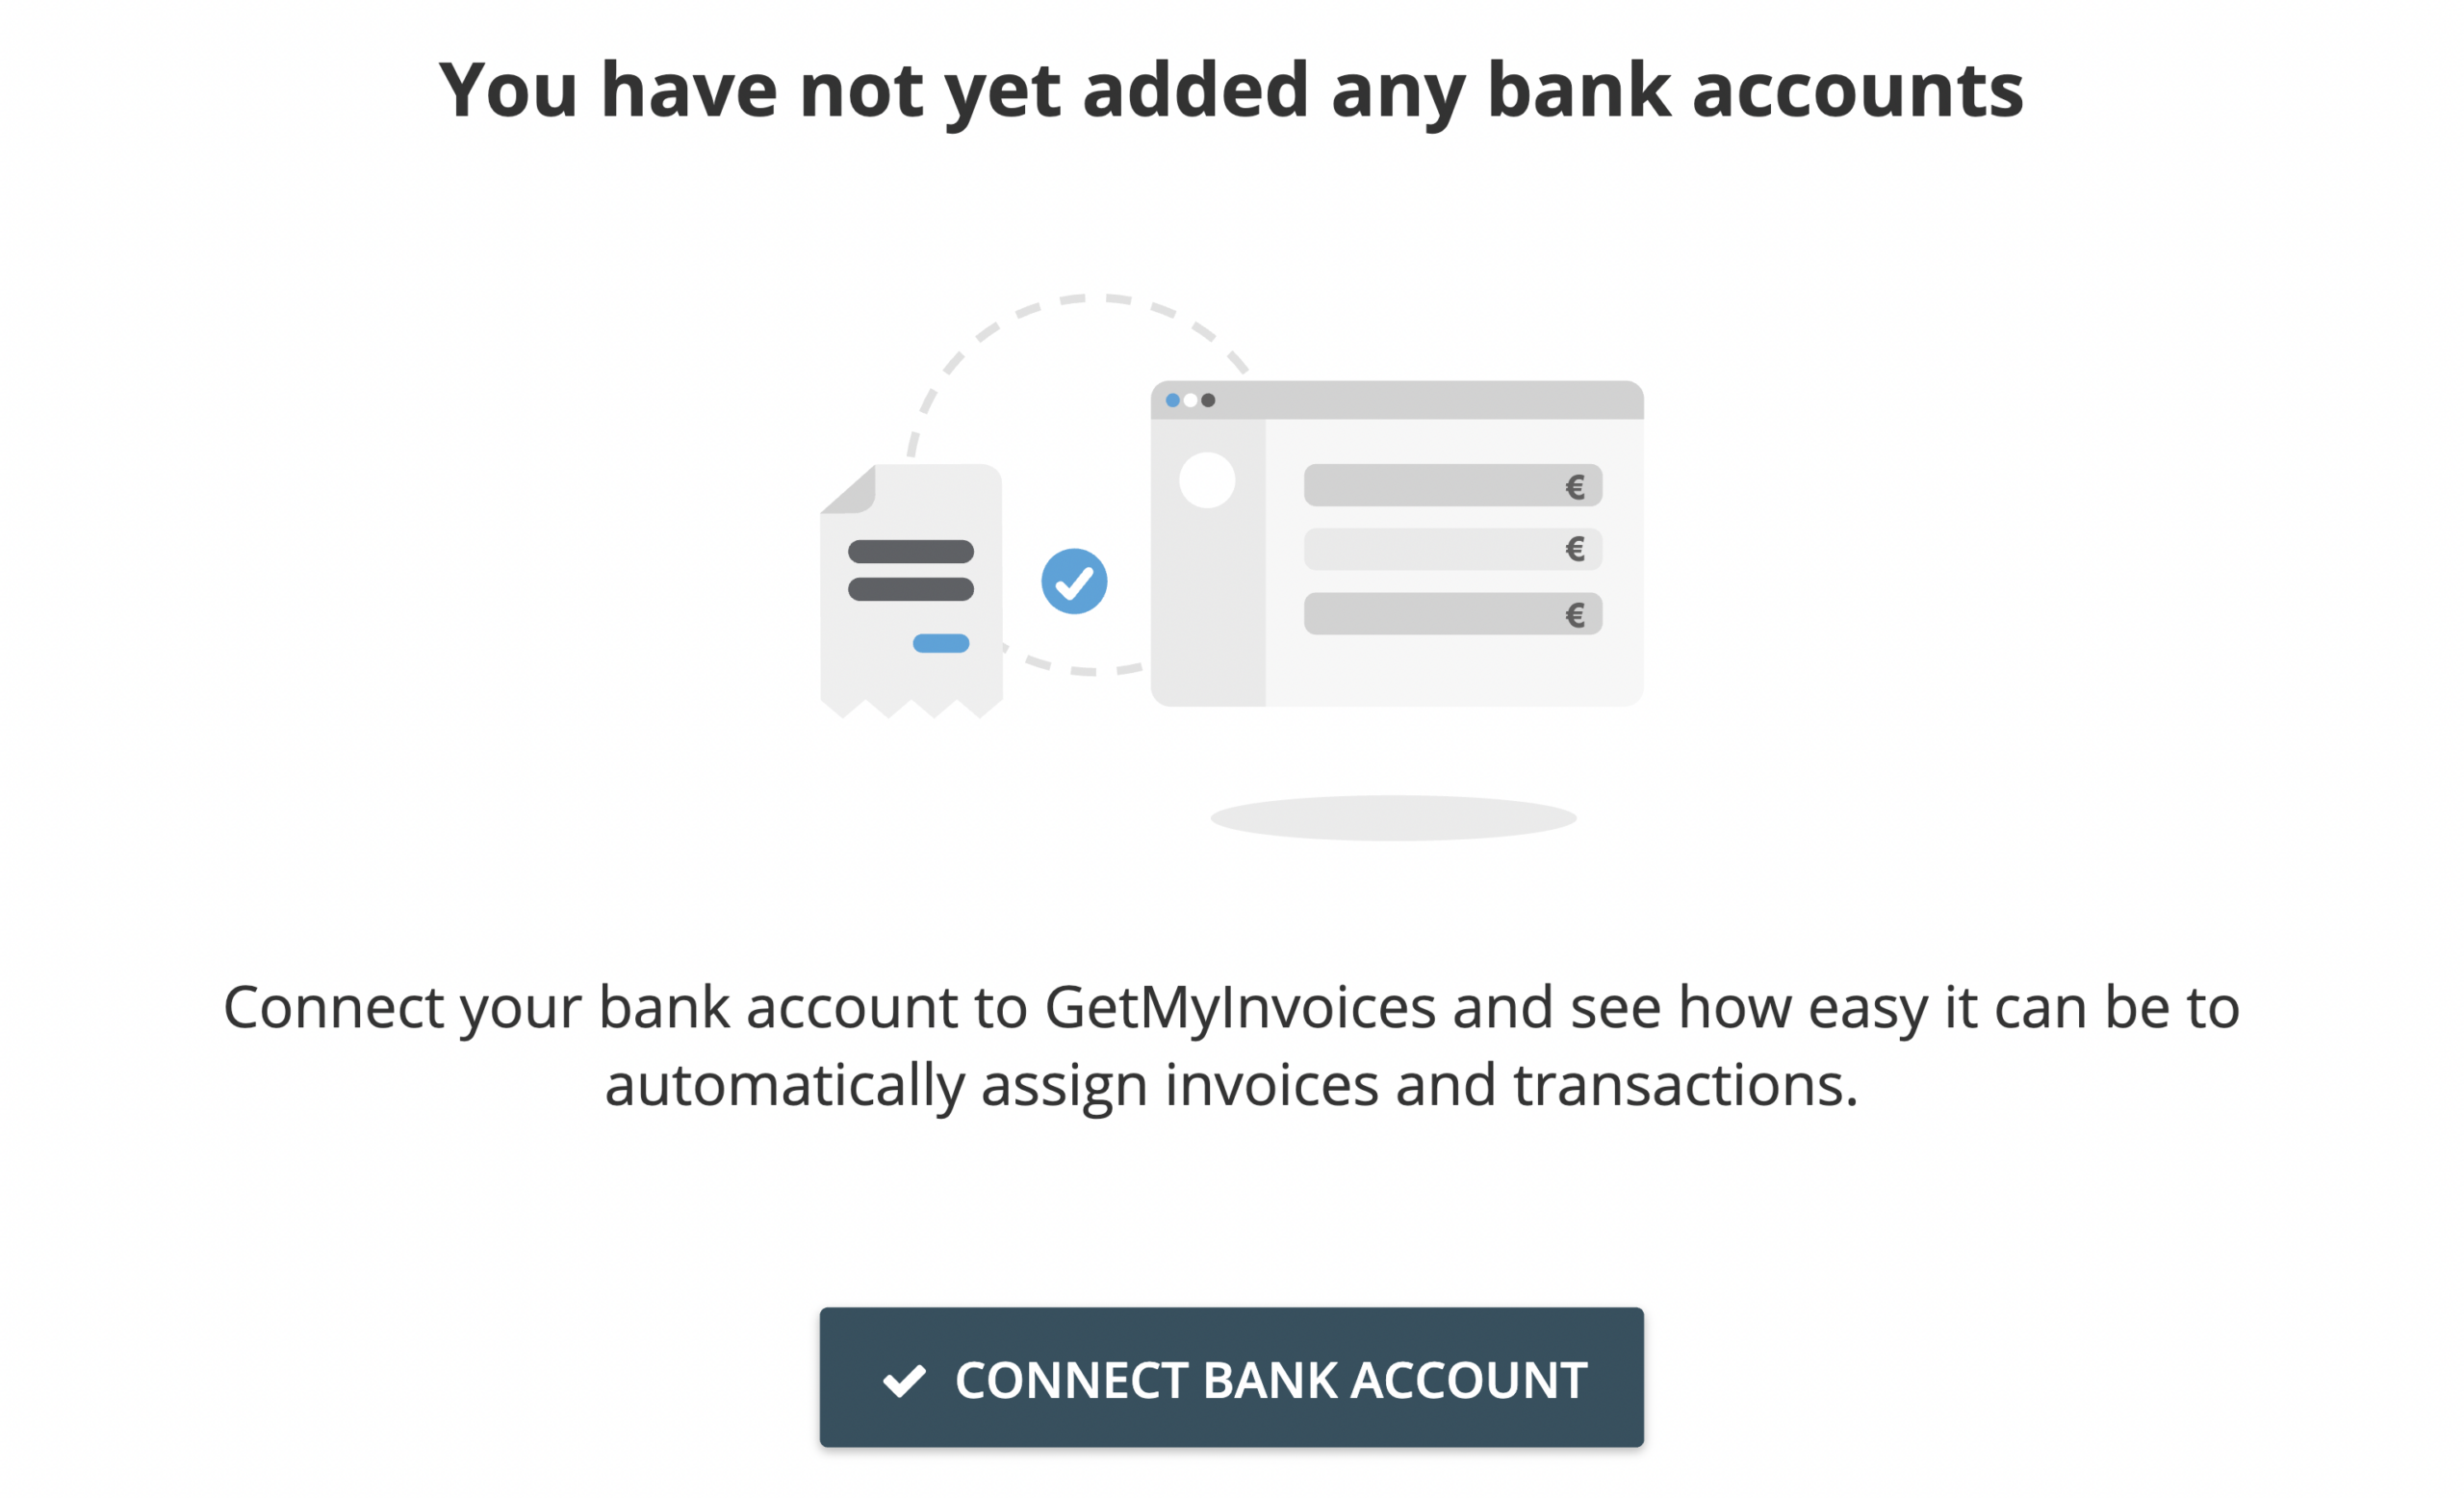
- A pop-up window appears if you are trying to add your banking information for the first time. Click Connect Bank Account to continue.
- If you have previously linked your banking information and would like to add another one, click the Bank Accounts icon on the upper right corner of the Banking page, then click the plus icon.
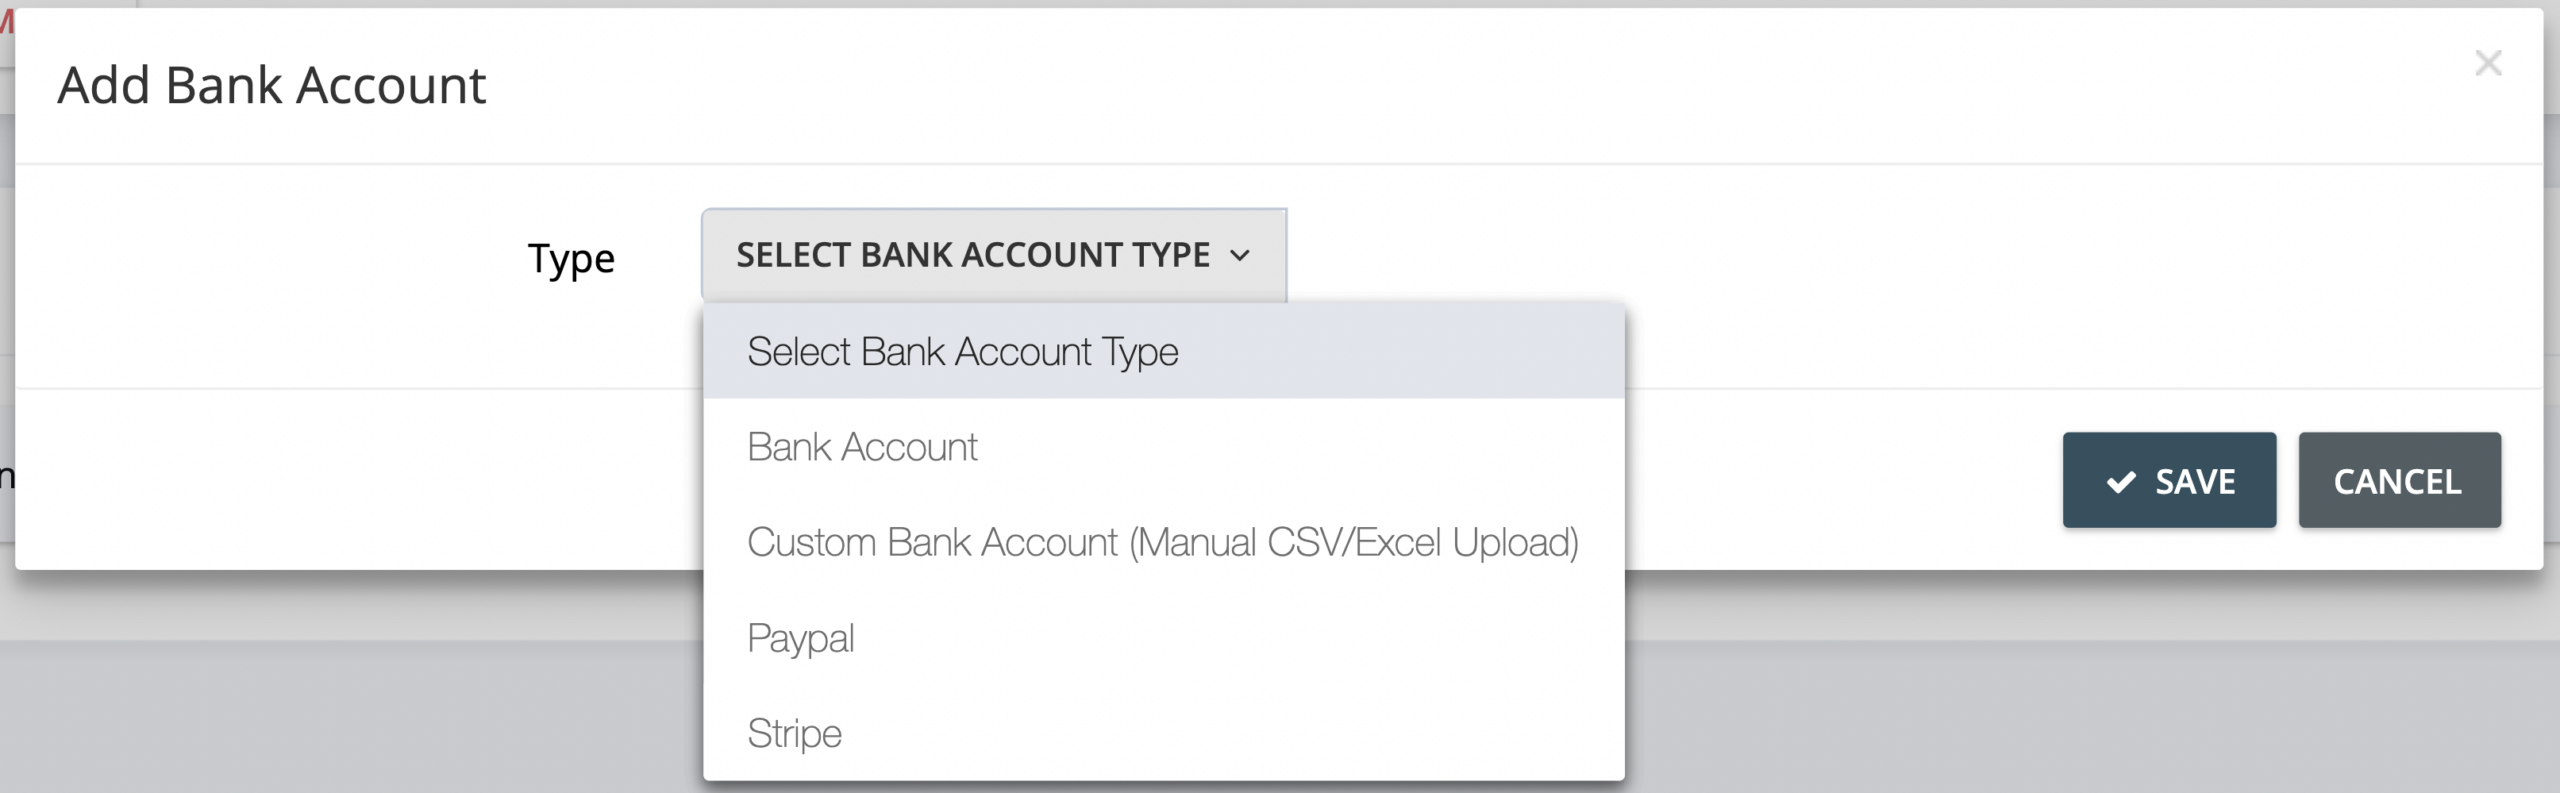
Step 3. Click the drop-down selection on the Add Bank Account window. Then choose Bank Account.
Step 4. Choose the country of the bank you want to link from the drop-down selection. Then click Save.

Step 5. You will be taken to a secured and encrypted browser window to continue linking your bank account. Options may vary depending on the country of the bank you have chosen in Step 4. Follow the guided instructions on the succeeding windows and enter your banking information. (Note: You may be asked to provide two-factor authentication (2FA) details to link your bank. Check with your bank for more information.)
Step 6. Once you have successfully authenticated your banking information, you will be taken back to your GetMyInvoices account’s Banking page. The newly linked bank account will show up on this page.
PayPal
Step 1. From the GetMyInvoices dashboard, click Banking on the left-side menu.
Step 2:
- A pop-up window appears if you are trying to add your banking information for the first time. Click Connect Bank Account to continue.
- If you have previously linked your banking information and would like to add another one, click the Bank Accounts icon on the upper right corner of the Banking page, then click the plus icon.
Step 3. Click the drop-down selection on the Add Bank Account window. Then choose PayPal.
Step 4. Fill out the required fields using your PayPal API Signature credentials. Read this PayPal Help Center article for more information on how to obtain these details.

Step 5. Once you’ve filled out the required fields on the Add Bank Account window, click Save to continue.
Step 6. Your PayPal account will show up on the GetMyInvoices Banking page upon successful authentication.
Stripe
Step 1. From the GetMyInvoices dashboard, click Banking on the left-side menu.
Step 2:
- A pop-up window appears if you are trying to add your banking information for the first time. Click Connect Bank Account to continue.
- If you have previously linked your banking information and would like to add another one, click the Bank Accounts icon on the upper right corner of the Banking page, then click the plus icon.
Step 3. Click the drop-down selection on the Add Bank Account window. Then choose Stripe.
Step 4. Copy your Stripe API Key from your Stripe account and paste it into the API Key text field on the Add Bank Account window. Read this Stripe support documentation on how to find your Stripe API Key.

Step 5. Click Save to continue. Your Stripe account will show up on the GetMyInvoices Banking page upon successful authentication.
Custom Bank Account via Excel/CSV
Step 1. From the GetMyInvoices dashboard, click Banking on the left-side menu.
Step 2:
- A pop-up window appears if you are trying to add your banking information for the first time. Click Connect Bank Account to continue.
- If you have previously linked your banking information and would like to add another one, click the Bank Accounts icon on the upper right corner of the Banking page, then click the plus icon.
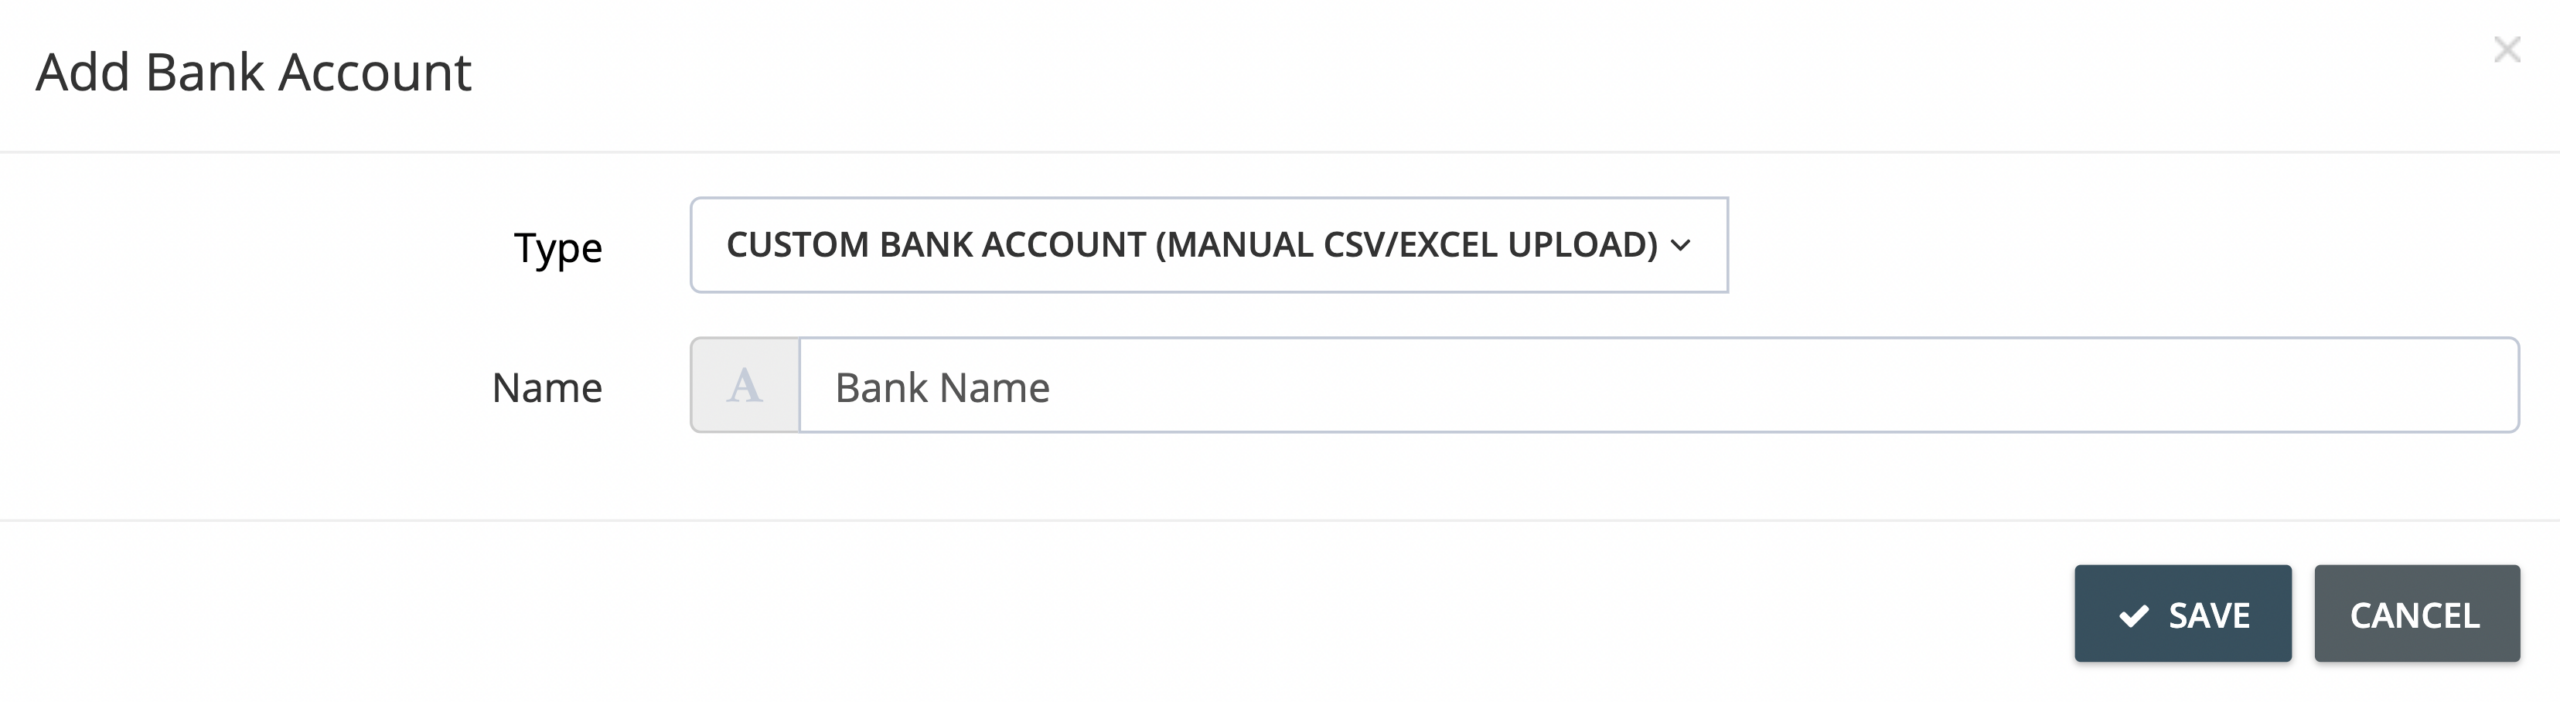
Step 3. Click the drop-down selection on the Add Bank Account window. Then choose Custom Bank Account.
Step 4. Enter the name you would like to assign to the custom bank account, then click Save to continue.
Step 5. Click Select File on the Upload Transactions window, and locate the Excel/CSV file on your computer.
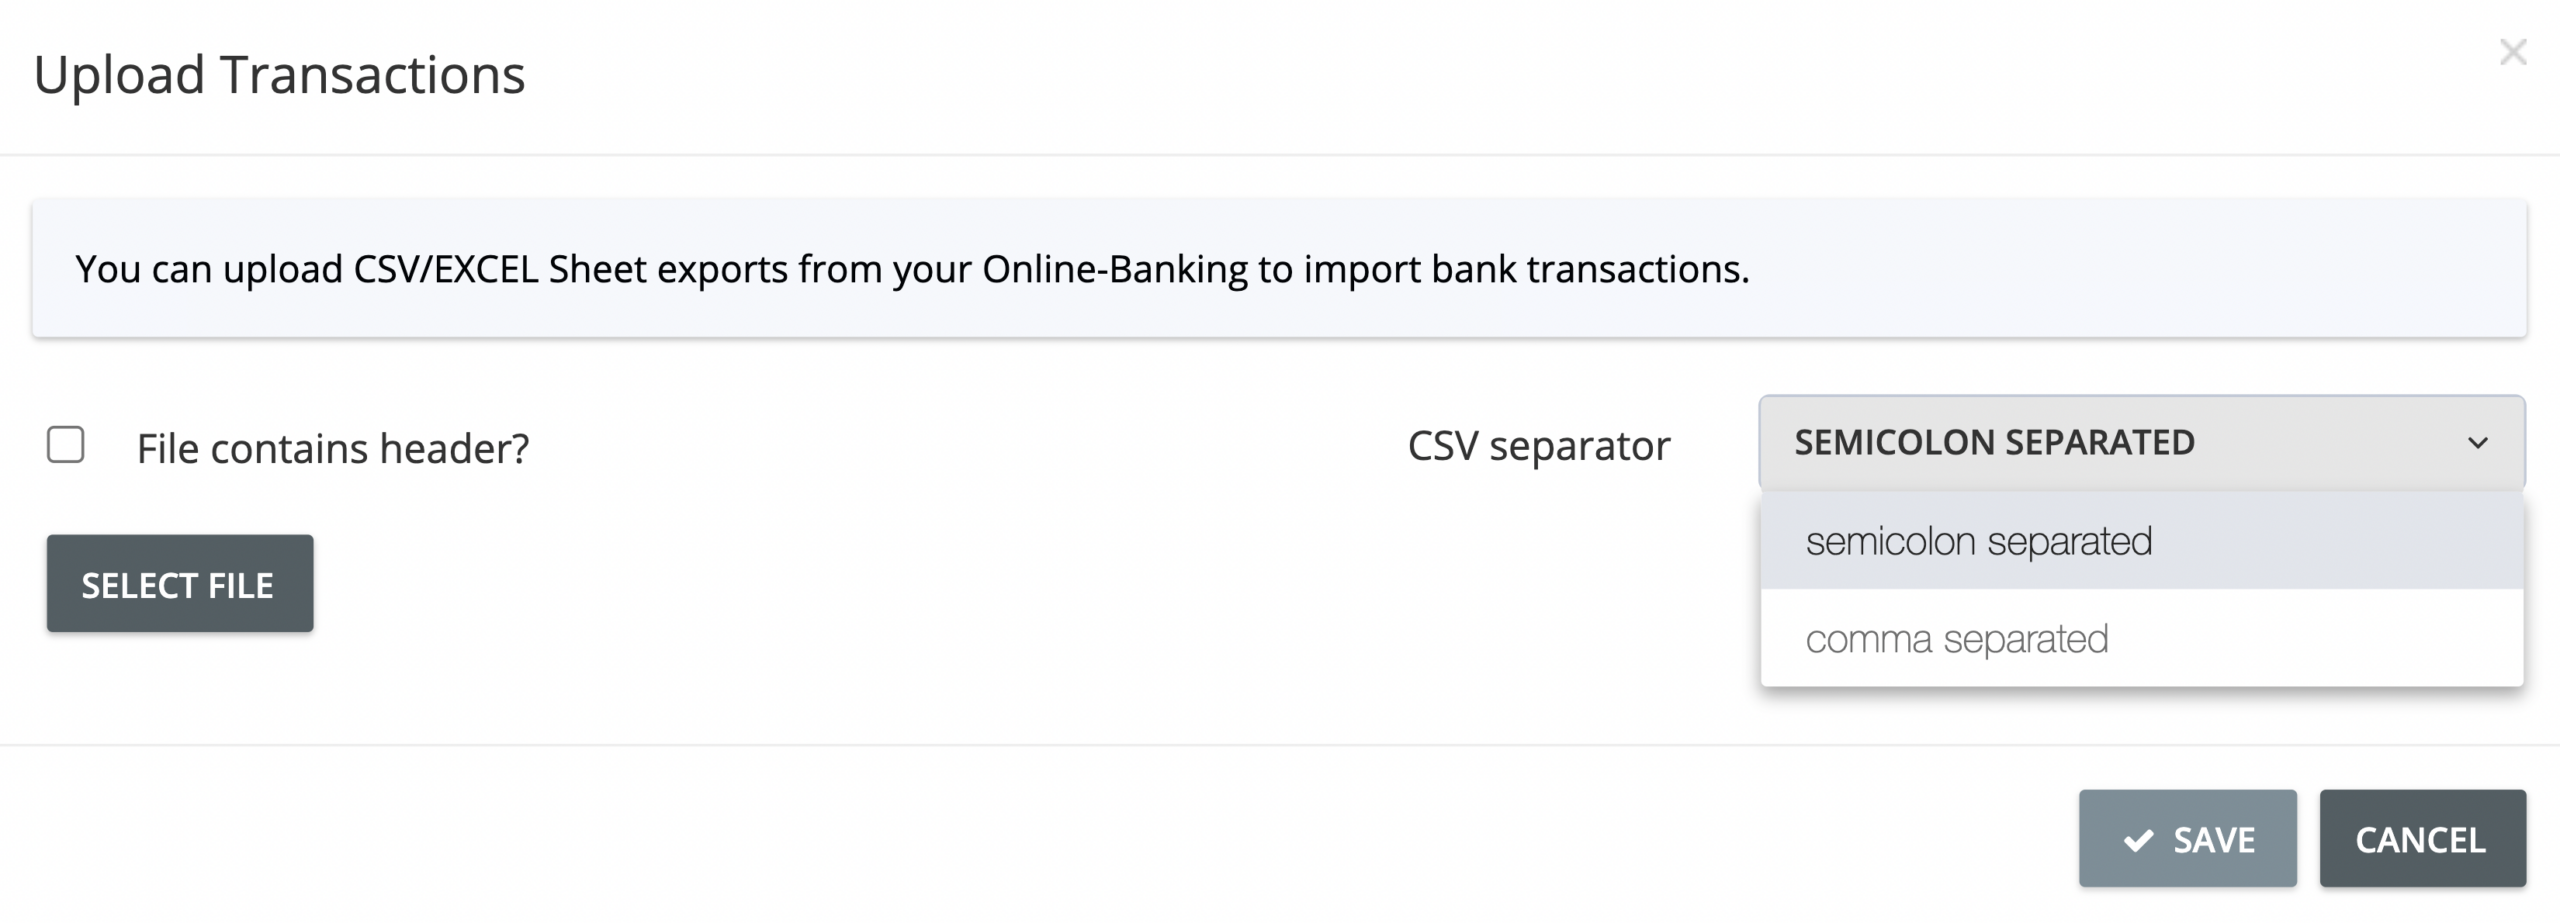
Step 6. On the Upload Transactions window, specify if the spreadsheet file you’re about to upload has a header row. If you’re uploading a CSV file, specify the separator type. Then click Save to continue.
Step 7. Your custom bank account will show up on the GetMyInvoices Banking page upon successful upload of your Excel/CSV file.
If you’re encountering issues during the bank account linking process, please reach out to our Customer Support team through the Chat button on your GetMyInvoices dashboard or create a new support request ticket by clicking here.